Writer#
The combination of low threshold to obtain something visual and the flexibilty in Python makes this our main choice.
First release in April 2023 as Streamsync, but more than 900 GitHub stars as of November same year.
https://writer.com focuses on AI features, while https://dev.writer.com/framework is the dashboard core.

Prepare Python
cd /your/favourite/directory
conda activate your_favourite_environment
Installation
# Install via pip (requires Python >= 3.9.2)
pip install writer
Create demo and run in local server
writer hello
Edit an existing project
writer edit hello
Run an existing project
writer run hello
Note
You may need to copy the server URL to a web browser after running the selected writer command.
Exercise (together)#
Install writer.
Create (and open) hello project.
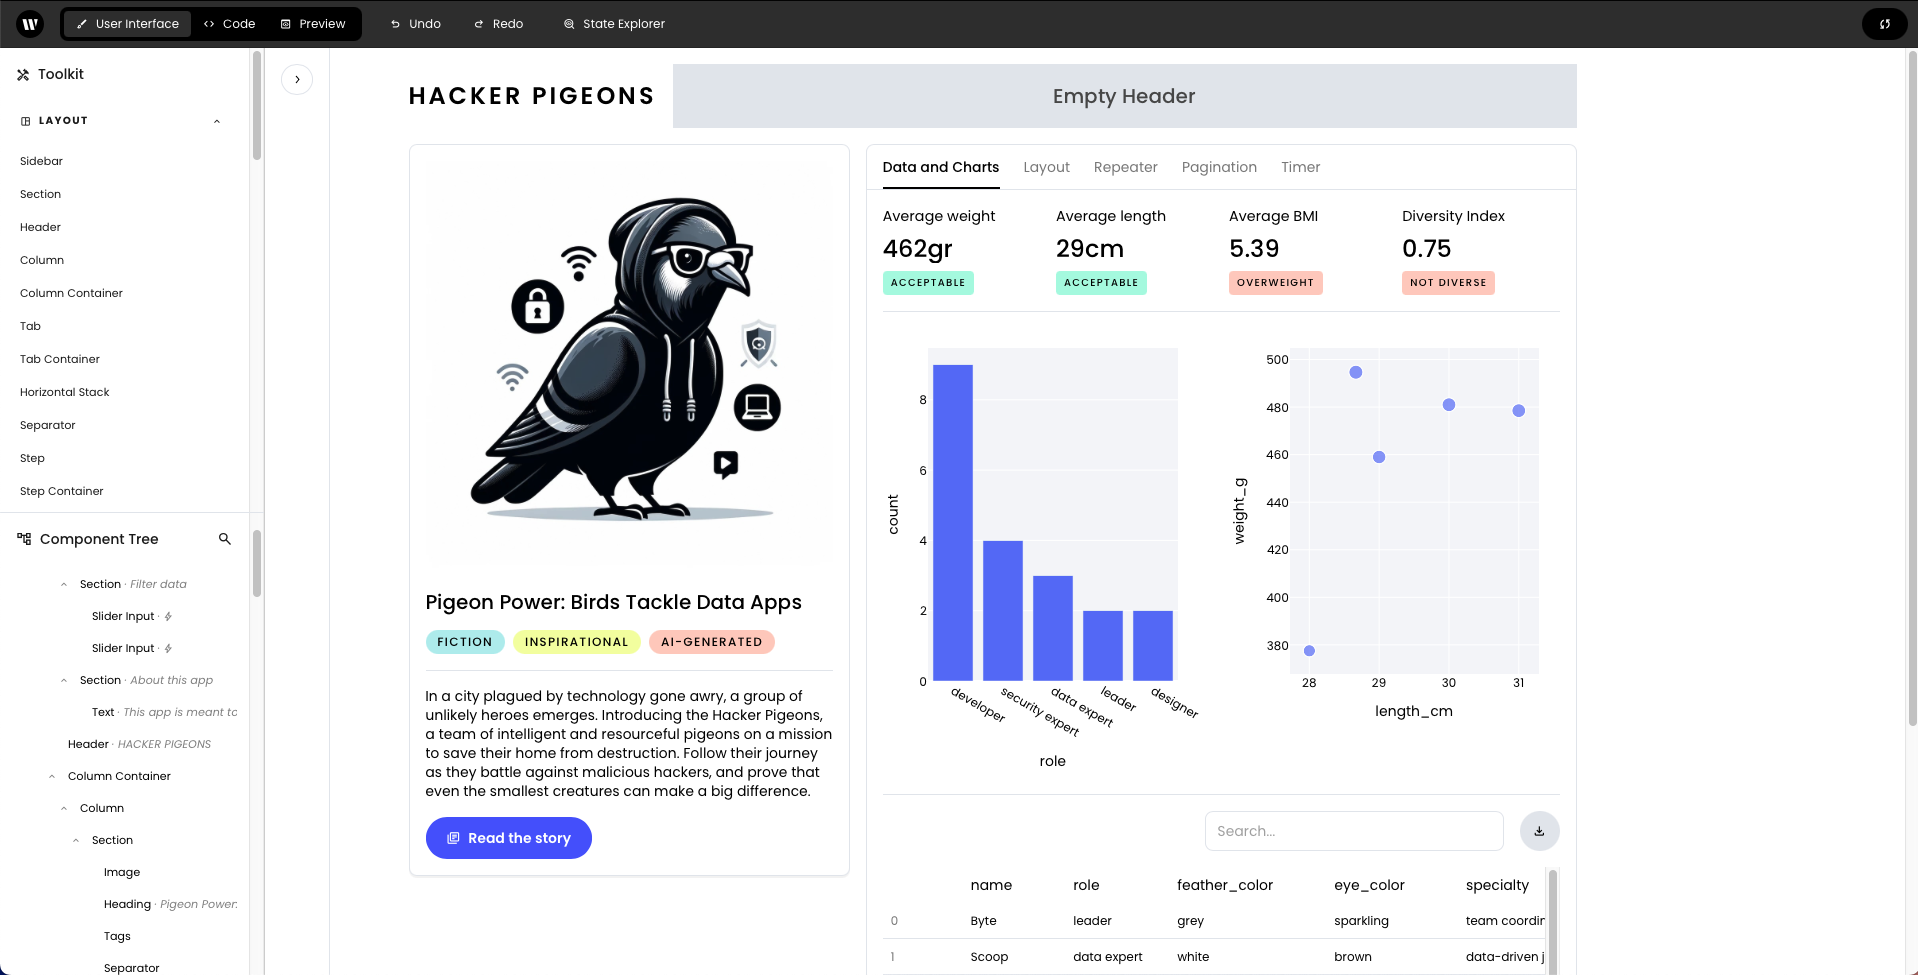
Play with the project in “Preview” mode, testing functionality.
Focus on “User Interface” mode:
Left bar: Layout, Content, Input, Other.
Left bar: Component Tree.
UI elements, click and edit properties.
Double-click on Tabs to reveal contents.
Move elements and add new ones.
Value binding between elements (see documentation).
Inspect and tweak “<> Code” focusing on:
initial_state (bottom of Python code, documentation).
Use of leading _underscore in states and functions to be private to the backend (not connected to UI).
Application state notation, @{…}, in UI element properties and corresponding Python code.
Nested states, e.g., @{building.height}, or for dynamic access: @{building[dynamic_prop]}
Event handling (documentation).
From Python, assignment of states trigger detection/action, e.g., state[“counter”] = something + something_else.
Open the project in your favourite editor (IDE).
F.ex. in VS Code: File -> New Window, File -> Open Folder…, choose hello.
Changes in code and JSON files should be directly detected by writer.
See also
Resources

